
The Frigid Wastes is a map by SUPACRAAZZEE. It is based on an Antarctic research station.
It can be downloaded here.
It is suggested to play on tiny render distance, in order to simulate a snowstorm, as well as hiding the ugly scenery surrounding the map.
Areas[]
Starting Room[]
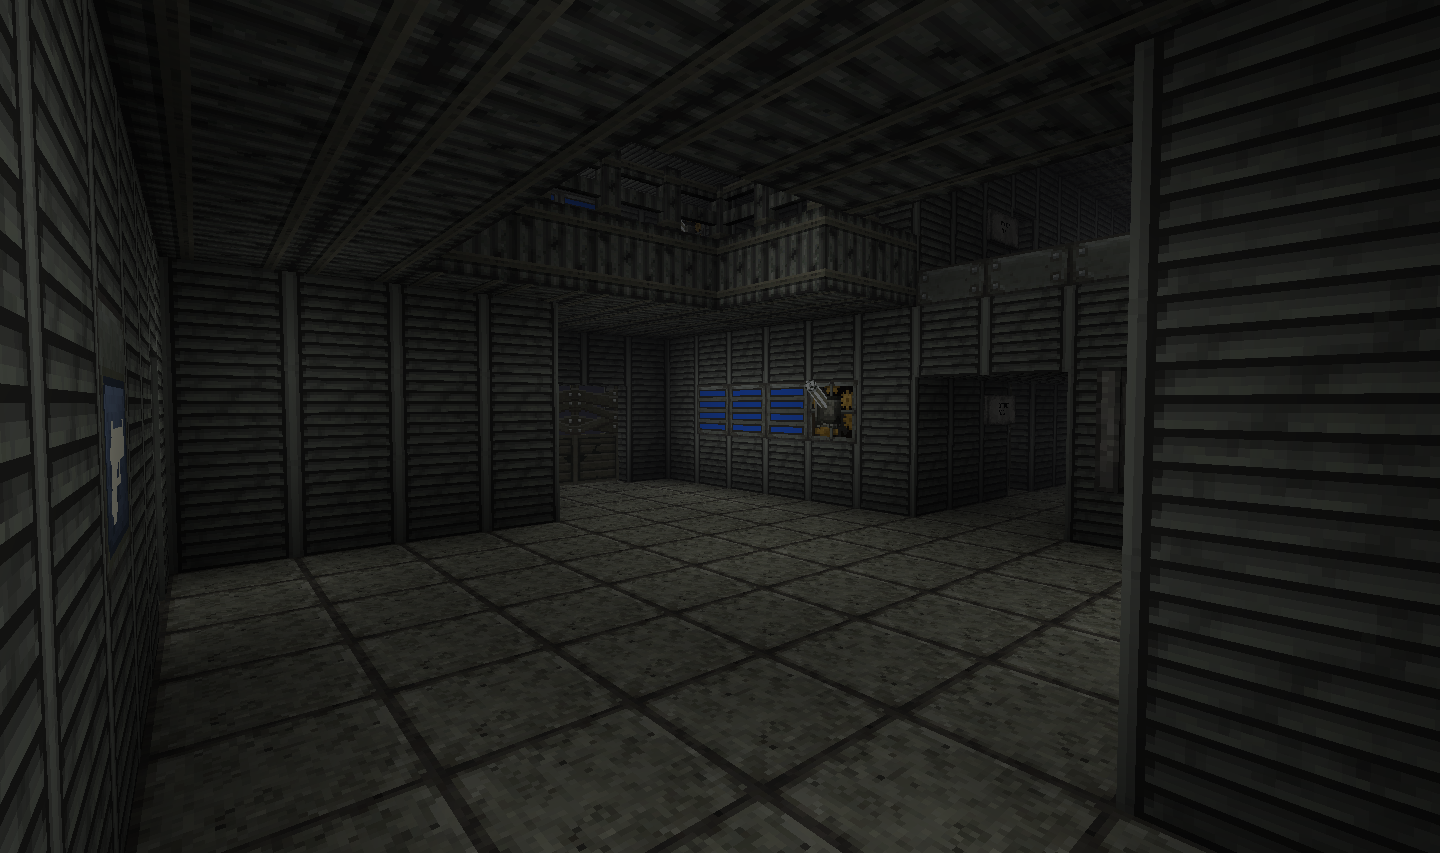
The starting room
- Contains 4 zombie barricades.
- M1 Garand and Kar98k can be bought off the wall.
- Possible camping location, although there aren't any really good spots to be in.
- Contains two doors, one leading to level 2 and one leading outside.
Level 2[]
Second level of the base, which has very promising camping, as well as a few useful utilities.
- Contains 3 zombie barricades.
- Trenchgun can be bought off the wall.
- Charge Soda machine.
- Contains a trap, which electrifies the staircase.
- Two doors, one leading to the power room and one leading back to the starting area.
Outside and Mystery Box Room[]

The outside area. Inside the green storage warehouse, behind a door, is where one can find the Mystery Box
- Contains 3 zombie entrances, including one unguarded entrance over some Lapis Lazuli.
- Magnum can be bought off the wall.
- Speed Soda and Exstatic can be purchased.
- Camping is possible, as long as one has not opened opposite door to the one they came in. It is also possible to camp in the warehouse, around the fences near Exstatic.
In the Mystery Box room:
- One barricade.
- As one may have suspected, the Mystery Box is located here.
Power Room and Upstairs Balconies[]
- Contains only 2 zombie entrances, one of which is not guarded by a barricade.
- Contains the power switch, which is directly across from Charge Soda in the opposite room.
- Mace can be bought off the wall.
- Juggernog can be purchased at the bottom of the stairs, in the labs.
- Contains one trap, which electrocutes the stairs to the balcony.
Note: The zombies seem to have a pathfinding error when trying to get around the balcony. This may be used to one's advantage.
Stairs and Labs[]


The Labs
- Despite the large size of this area, it only contains 2 zombie entrances, including one unguarded entrance.
- Bouncing Betties can be bought off the wall.
- Contains two traps, one that completely blocks off one of the zombie barricades, and another at the top of the stairs, blocking them off.
- As long as you don't open many doors, this area is camp-able.
Power Core[]


The Power Core is the largest area in the map, making the game much harder when it is opened. However, it is deemed necessary by most players.
The Power Core room is by far the largest and most dangerous area in the map. However, it contains Support Soda and the flamethrower, so it is deemed quite vital to most conventional players.
- Contains 4 zombie entrances, one of which is unbarricaded. The spawns are on all four sides of the room, making survival in this area extremely difficult.
- As mentioned before, Support Soda and the flamethrower can be purchased in the 'Main Office'.
- Camping is utterly impossible, as zombies come from all sides.
Note: You CAN break the glass of the power core, but it can be dangerous if you're running backwards and jump into the center.
Reviews[]
If you have a review of the game, please write it here, or simply give it a vote out of ten, if you're not really the talkative type.
Player Guides, Tips and Strategies[]
Got a strategy that works good? Post it here!